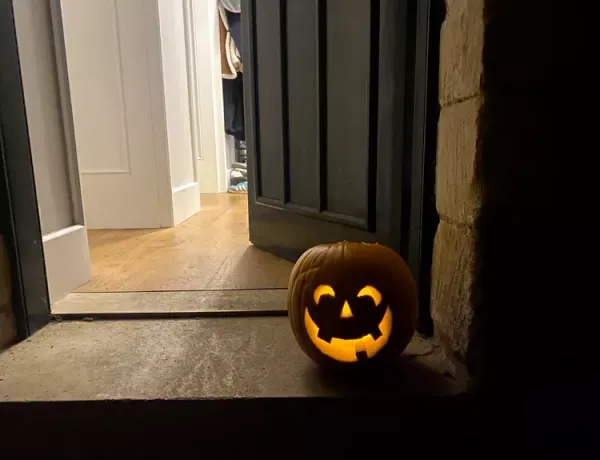
Master Pumpkin Carving: Clean Steps for a Perfect Jack-O'-Lantern
As Halloween approaches, many households prepare to transform ordinary pumpkins into glowing jack-o'-lanterns. Carving a pumpkin is a beloved seasonal activity, but it can quickly become messy and even hazardous if done improperly. This guide provides a clear, step-by-step approach to carving a pumpkin with minimal mess and maximum safety, ensuring a rewarding result for both novices and experienced carvers.
Before picking up any tools, it's crucial to select a design that matches your skill level. Beginners should opt for simple patterns with few intricate details, while those with more experience can experiment with complex designs, such as incorporating additional pumpkins or carved chunks for elaborate displays. Preparation is equally important: lay down newspaper, a plastic tablecloth, or old towels on your work surface to catch the inevitable pulp and juice. Wearing old clothes is also advisable, as pumpkin slime can be stubborn to remove.
Choosing the Right Pumpkin and Tools
The ideal pumpkin for carving is medium-sized, typically weighing between 10 and 20 pounds, and should feel firm all around. A longer stem provides a convenient handle for removing the top. For tools, you can use a specialized pumpkin carving kit, which often includes serrated knives and gouges, or rely on common kitchen items like a long chef's knife and a paring knife. A wooden spoon or a plastic spork is handy for scooping out the interior, and a permanent marker is useful for tracing designs.
When you're ready to begin, cut a jagged hole around the stem or in the back of the pumpkin. Cutting from the top is traditional and allows smoke to escape if you use a real candle, while a hole in the back is easier for placing battery-operated lights. Carefully remove the cut piece and set it aside for later use.
Cleaning and Carving Techniques
The next step involves removing the pulp and seeds. Using your hands or a wooden spoon, scrape the inside walls to loosen the stringy fibers. A spork's tines can be particularly effective for this task. Collect the pulp in a bowl to keep the area tidy; the seeds can be saved and roasted later. After cleaning, wipe the exterior with a paper towel to remove any moisture, then place your paper design on the pumpkin and trace it using a toothpick or a gouge tool. Alternatively, transfer paper can be used to draw the design directly onto the gourd.
Carving requires patience and a steady hand. Use the smaller knife for intricate details and the larger knife for removing bigger sections. To remove large chunks, you can push them from the inside out or gently tap them inward. Some carvers find it easier to work with the pumpkin on their lap, covered with a towel, as this provides better control and prevents rolling. After carving, applying a thin layer of petroleum jelly or clear polyurethane to the cut edges can help slow down the rotting process.
Lighting and Safety Considerations
Once your design is complete, it's time to light it up. Traditional candles offer a classic glow but pose a fire risk and can be extinguished by wind. Battery-operated candles are a safer alternative, providing the same flickering effect and often featuring timers. String lights or colored bulbs, such as red, can create a spookier atmosphere. Always supervise children during carving, as the tools are sharp, and never leave a lit candle unattended.
Carving a pumpkin is a fun and creative way to celebrate the season. By following these steps, you can avoid unnecessary mess and ensure your jack-o'-lantern looks great on your porch. Whether you're a first-timer or a seasoned carver, the key is to take your time, prioritize safety, and enjoy the process.
Master Pumpkin Carving: Clean Steps for a Perfect Jack-O'-Lantern
Learn the essential steps to carve a pumpkin neatly and safely, from selecting the right gourd to lighting your finished design. This guide covers tools, techniques, and cleanup tips for a stress-free Halloween tradition.
Leave a Comment
Comments (0)